Materials (all are CTMH unless noted otherwise):
- My creations 3 ring binder
- Outdoor denim and sunny yellow cardstock and inks
- Tiny typewriter, circle of love, unity, large chocolate alpha, and Field trip alpha stamp sets
- versamark ink
- clear embossing powder
- summer posies and white daisy bulk Just blooms
- sunny yellow re-inker
- corner punch (fiskars)
- liqourice opaques
- bitty sparkles
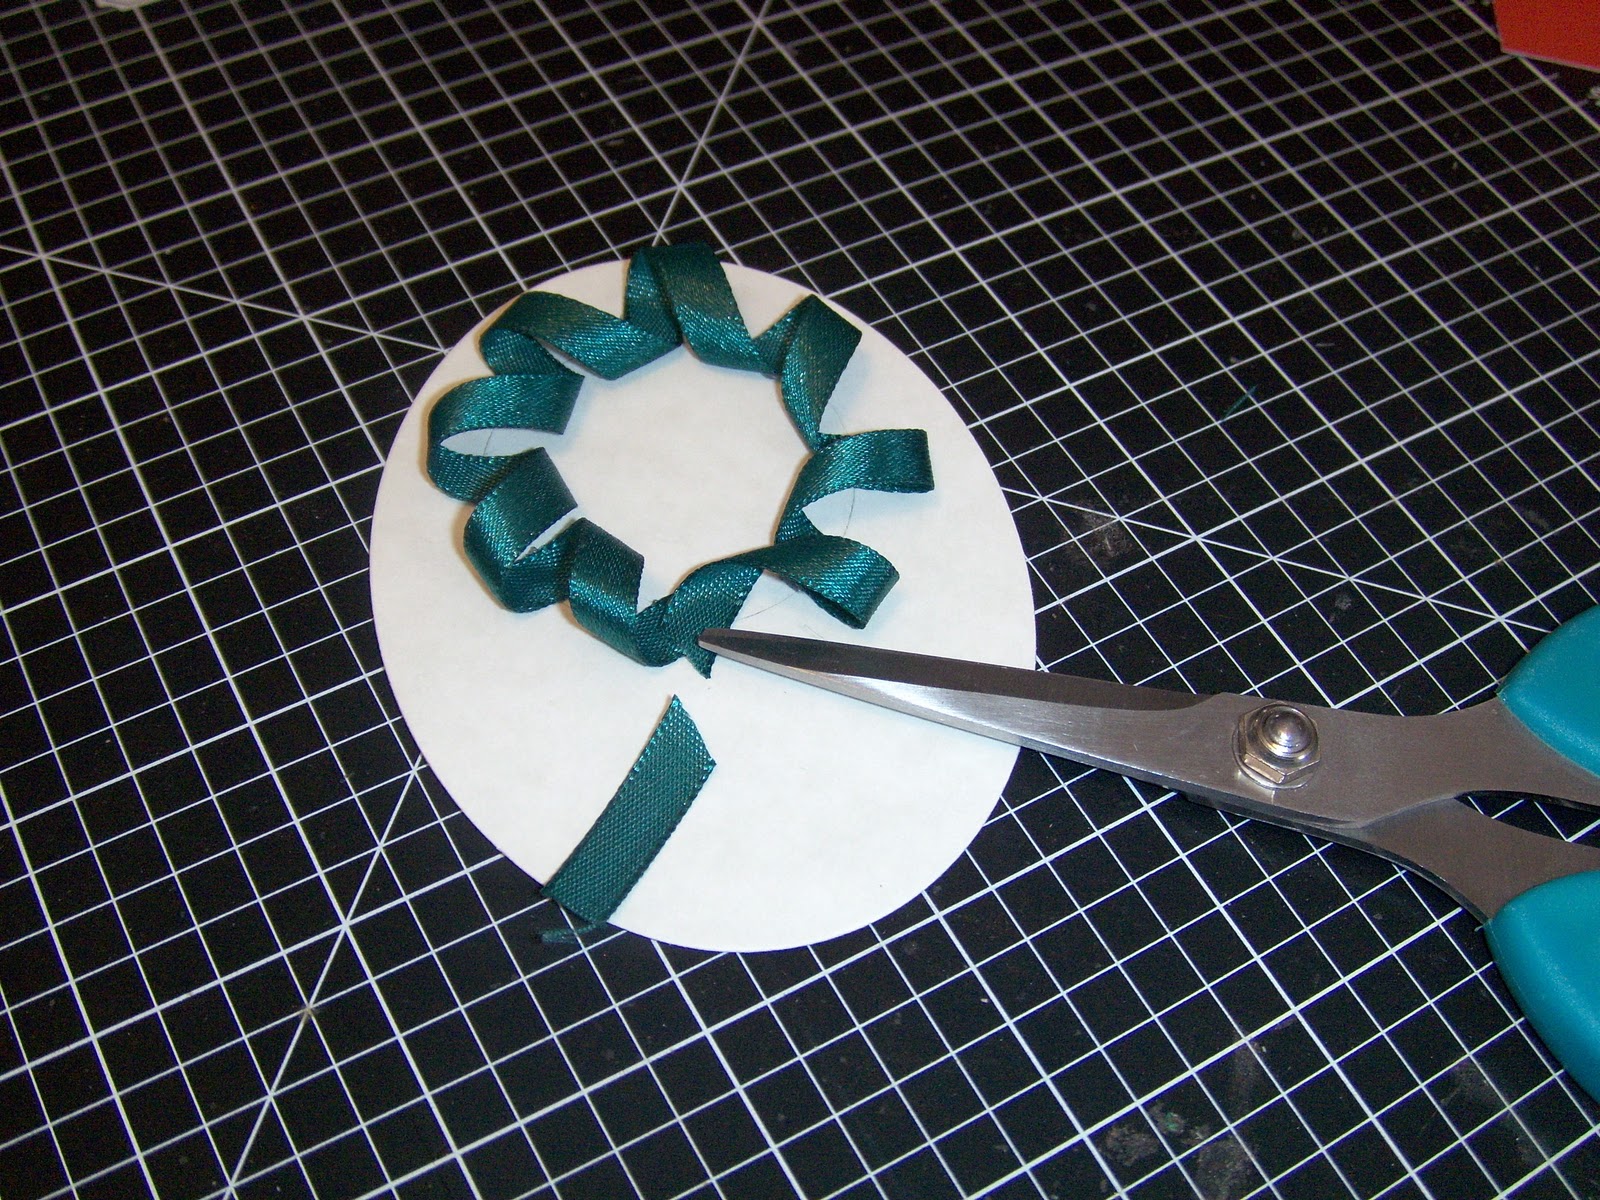
- Ribbon (micheals)
- gel pens for signing on dark pages (Sakura)
- Acetate for box (Micheals?)
I think I got everything. Any questions let me know :)